Headlight cleaning hacks – What are the Right Methods
Introduction to DIY Headlight Cleaning
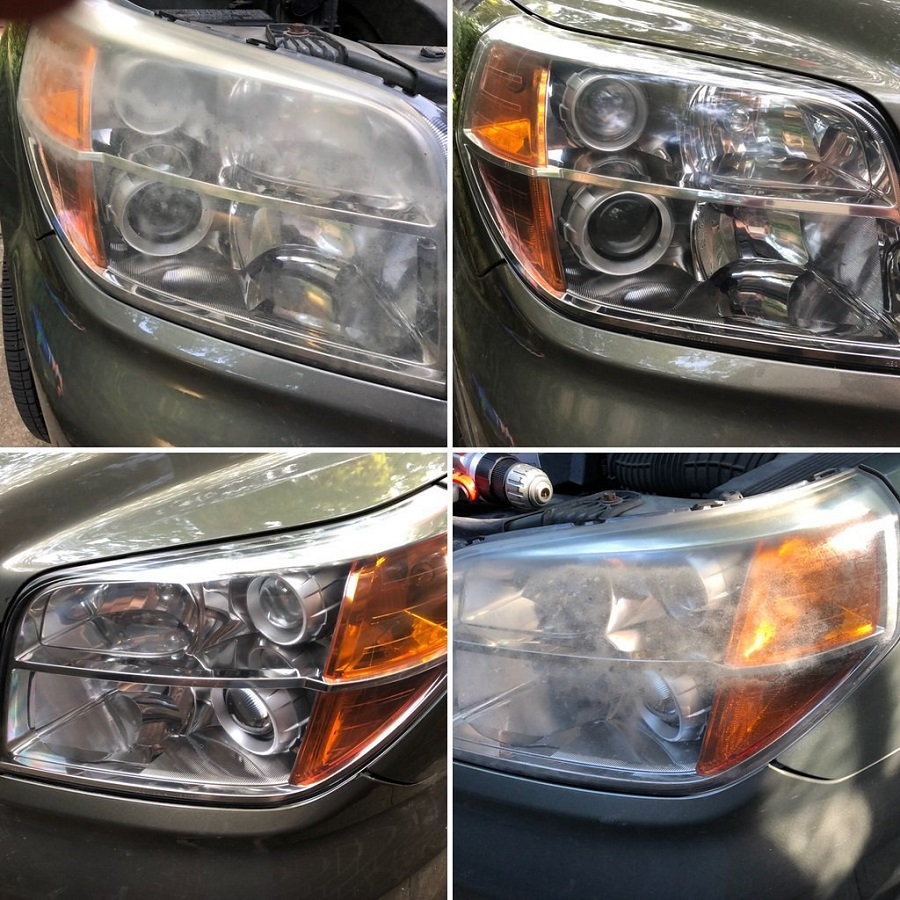
A clear view during night drives is crucial, and headlight cleaning hacks are key. With headlight cleaning hacks, you can ensure they remain bright and effective. Over time, headlights can become cloudy due to oxidation, grime buildup, and scratches. Restoring them to their former clarity not only enhances the appearance of your vehicle but also significantly improves safety.
Understanding Headlight Cloudiness
Headlight cloudiness, also known as headlight oxidation, is a common issue for vehicle owners. This cloudiness can significantly reduce the effectiveness of your headlights, making it harder to see at night and potentially increasing the risk of accidents. Here are several factors that contribute to the clouding of your headlights:
- Sun Damage: The sun’s UV rays can cause the plastic of headlight covers to degrade and become hazy.
- Age: Over time, headlights can naturally become cloudy due to wear and tear.
- Environmental Pollutants: Chemicals and pollutants in the atmosphere can react with the headlight material, leading to clouding.
- Road Debris: Tiny scratches from sand, dust, and road debris can also cause your headlights to lose clarity.
- Improper Cleaning: Sometimes, using harsh chemicals or abrasive methods to clean headlights can do more harm than good.
Understanding these causes can help you take proactive steps in maintaining the clarity of your headlights. By recognizing these factors, you will be better equipped to use the upcoming DIY hacks effectively. Moreover, regular cleaning can prevent or slow down the clouding process, preserving the brightness and functionality of your headlights. It’s a simple yet vital part of maintaining your vehicle’s safety features.
DIY Hack #1: Toothpaste Method
For an easy and cost-effective DIY headlight cleaning solution, toothpaste is a great option. Toothpaste contains mild abrasives which can polish away the hazy layer from your car headlights without scratching the surface. Here’s how to use the toothpaste method to clear up your headlights:
- Choose the Right Toothpaste: Use regular white toothpaste, not gel-based or whitening varieties.
- Clean the Headlight: Before applying toothpaste, wash the headlight with soap and water to remove any surface dirt.
- Apply Toothpaste: Squeeze a small amount of toothpaste onto a clean, damp cloth.
- Scrub Gently: Rub the toothpaste over the headlight in circular motions with mild pressure. This motion helps to break down oxidation.
- Let It Sit: Allow the toothpaste to sit for a few minutes, which gives it time to work into the cloudiness.
- Rinse Thoroughly: After scrubbing, rinse the headlight with clean water. Make sure to remove all toothpaste residue.
- Dry and Evaluate: Dry the headlight with a clean, soft cloth. Assess the clarity and repeat the process if necessary.
This toothpaste hack is a quick fix and often works best for light to moderate cloudiness. For severe yellowing or deep scratches, you may need more powerful solutions or a headlight restoration kit. Additionally, implementing this cleaning method regularly can maintain your headlights’ clear appearance and prevent long-term damage.
DIY Hack #2: Baking Soda Technique
Baking soda is a versatile cleaner that’s great for headlight restoration. Its gentle abrasive properties make it ideal for wiping away oxidation without harming the headlight’s surface. Here’s a simple method for using baking soda to clear up your headlights:
- Create a Paste: Mix about 2 tablespoons of baking soda with enough water to form a thick paste.
- Clean the Headlights: Wash them first to remove any loose dirt or debris.
- Apply the Paste: Using a sponge or cloth, rub the baking soda paste onto the headlights in a circular pattern.
- Scrub Gently: Continue with light pressure to avoid scratching the headlights.
- Leave On for 5 Minutes: This allows the baking soda to break down stubborn grime.
- Rinse Off: Use clean water to wash away the paste completely.
- Dry Thoroughly: Buff the headlights dry with a soft cloth and inspect the clarity.
Repeat the process if there’s still cloudiness. This baking soda technique is not only easy but also eco-friendly and cost-effective. For better results, you could do this regularly. The clearer your headlights, the safer your nighttime driving will be.
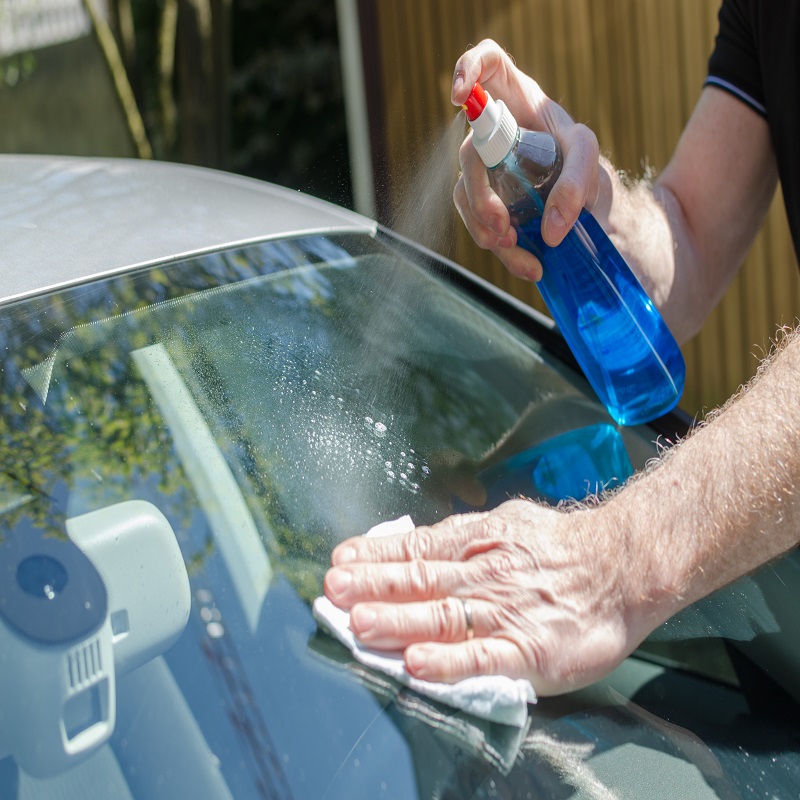
DIY Hack #3: The Vinegar Solution Approach
Vinegar is not just for cooking; it’s a mighty cleaner for headlights too. This common kitchen ingredient can cut through grime and restore the clear look of your headlights with its natural acidity. Here’s how to use vinegar to clear up your car’s headlights:
- Make Vinegar Solution: Mix equal parts of white vinegar and water in a spray bottle.
- Spray Headlights: Liberally spray the vinegar solution onto the headlights.
- Let It Sit: Wait for about one minute to let the vinegar work on the oxidation.
- Wipe Off: Use a soft cloth to gently wipe away the vinegar solution and grime.
- Rinse Headlights: Wash the area with clean water to remove any leftover vinegar.
- Dry Completely: Use a dry towel to thoroughly dry the headlights.
- Repeat If Needed: If headlights are still cloudy, do the process again.
This vinegar solution approach is simple and effective, especially for mild cloudiness. It’s also safe for the environment and won’t leave harmful residues. For tougher headlight haze, you might have to repeat this process a few times or consider another DIY hack or a restoration kit. Regular use of vinegar can help keep your headlights free from mild oxidation and grime build-up, ensuring clear vision on the road.
DIY Hack #4: Involving Rubbing Alcohol
Rubbing alcohol is another excellent option for DIY headlight cleaning. It’s effective at cutting through tough grime and can bring back the shine to your headlights. To use rubbing alcohol for headlight restoration, follow these easy steps:
- Make the Rubbing Alcohol Mixture: Combine equal parts water and rubbing alcohol in a spray bottle.
- Spray on Headlights: Mist the headlight covers with the solution.
- Wipe Gently: With a soft cloth, carefully wipe the headlights. The goal is to lift off dirt and oxidation.
- Dry Off: After wiping, dry the headlights with another clean, soft cloth.
- Repeat if Necessary: If the professional headlight still look cloudy, do the steps again.
Using rubbing alcohol is a straightforward hack that requires minimal supplies and effort. Plus, it’s a quick, effective method that works well for moderate oxidation and dirt. Always handle rubbing alcohol with care; it’s flammable and should not be used near open flames or high heat.
- Polish if Desired: For extra shine, you can polish the headlights after cleaning them with rubbing alcohol.
This method is convenient because rubbing alcohol is a common household item. It’s also less abrasive than some other cleaning hacks, reducing the risk of scratches. Clean your headlights regularly with rubbing alcohol to help maintain clarity.
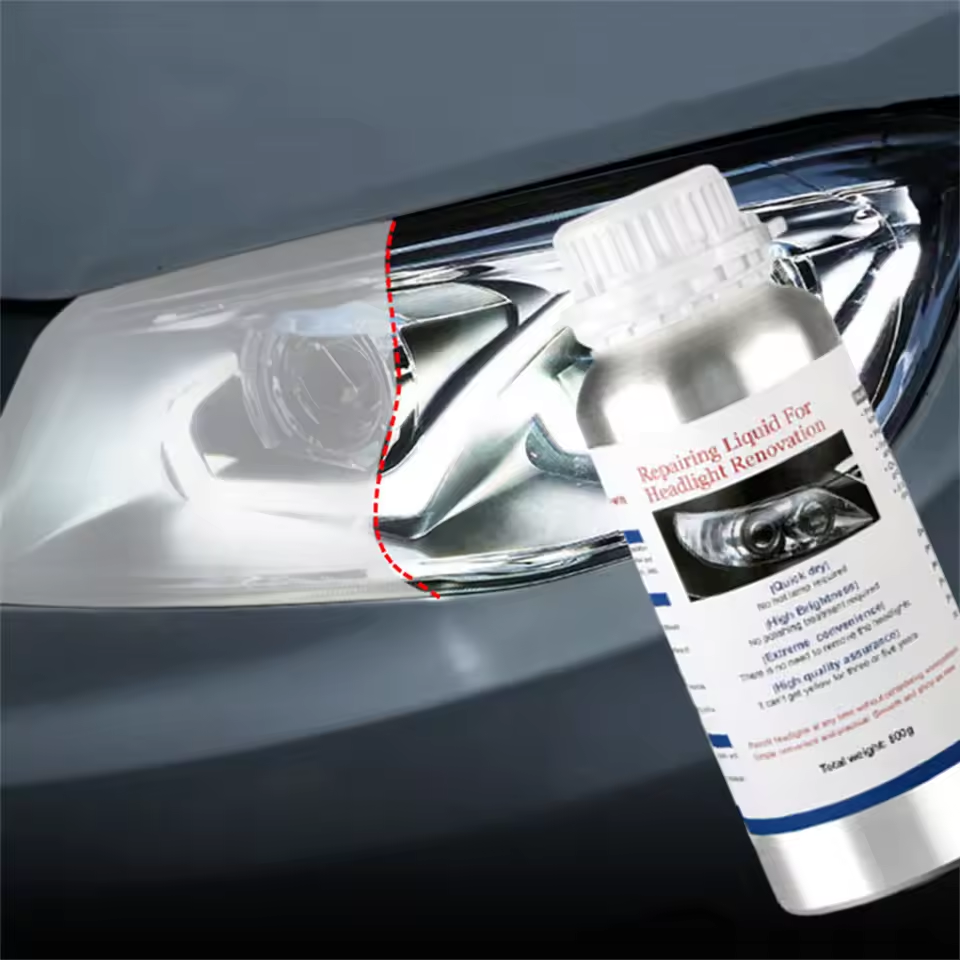
DIY Hack #5: Using a Headlight Restoration Kit
When home remedies fall short, a headlight restoration kit steps in as your ultimate solution. These kits offer a more comprehensive approach to tackling heavy oxidation and deep scratches that DIY hacks might not resolve. To use a headlight restoration kit effectively, follow these steps:
- Buy a Quality Kit: Select a restoration kit from a reputable brand for best results.
- Wash Your Headlights: Clean your headlights with soap and water to remove surface dirt.
- Sand Lightly: Many kits include sandpaper. Use it gently to sand the headlight surface.
- Apply Polish: Use the polishing solution provided in the kit on the sanded areas.
- Buff Headlights: After applying the polish, buff the surface to a shine.
- Seal It Up: Finish with a protective sealant to keep headlights clear for longer.
This process requires patience and attention to detail but often yields the clearest, longest-lasting results. An excellent benefit of restoration kits is that many come with a sealant that offers future protection against the elements.
Regular use of these kits can restore your headlights to near-factory condition, enhancing both appearance and safety. If you feel unsure about using a kit, watch tutorial videos or read the instructions carefully before starting. You can also consult professionals to avoid any risk of damaging your headlights. Remember to carefully handle the materials in the kit and follow safety precautions for the best outcomes.
Additional Tips for Headlight Maintenance and Protection
To keep headlights in top condition, several preventive measures can be taken. Remember, regular maintenance is easier than dealing with heavily oxidized or damaged headlights. Here’s how you protect your car’s headlights:
- Regular Cleaning: Headlight cleaning hacks frequently with water and a mild detergent to prevent buildup.
- Waxing: Apply car wax to your headlights to create a protective barrier against UV rays.
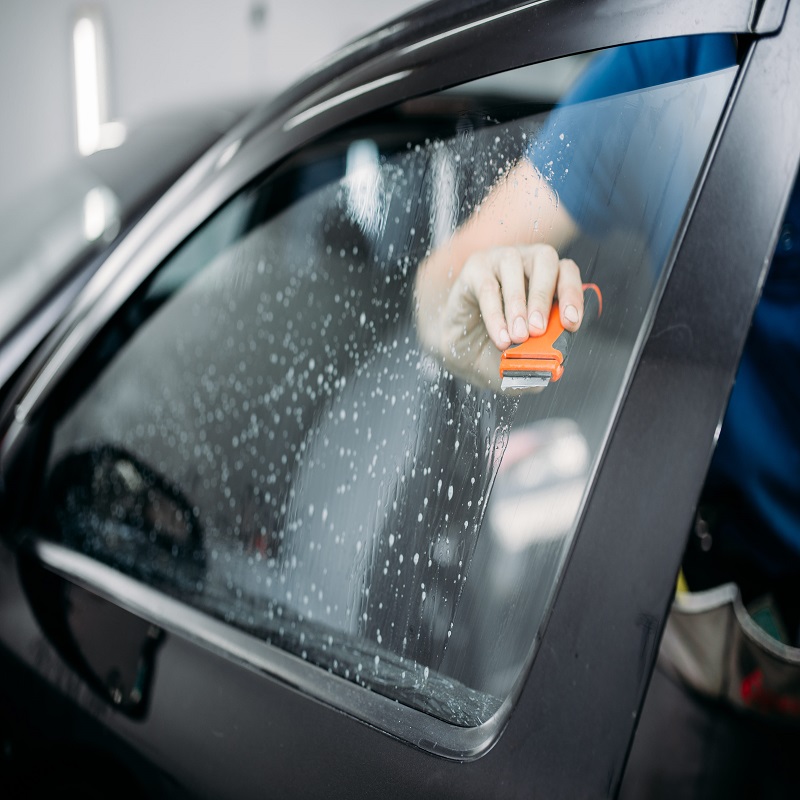
- Use Protective Films: Clear films can shield your headlights from scratches and dirt.
- Park Smart: Whenever possible, park your vehicle in shaded areas to minimize exposure to sunlight.
- Restoration Kits: Routinely, use headlight restoration kits which include UV protection.
- Avoid Harsh Chemicals: Stick to cleaning solutions designed for cars to avoid damage.
- Professional Check-Ups: Have professionals inspect your headlights during regular vehicle check-ups.
By following these tips, you can significantly extend the life and performance of your headlights. Not only will they look better, they will also provide better visibility for safer driving. Prevention is always better than repair, so take these steps to maintain your headlights.
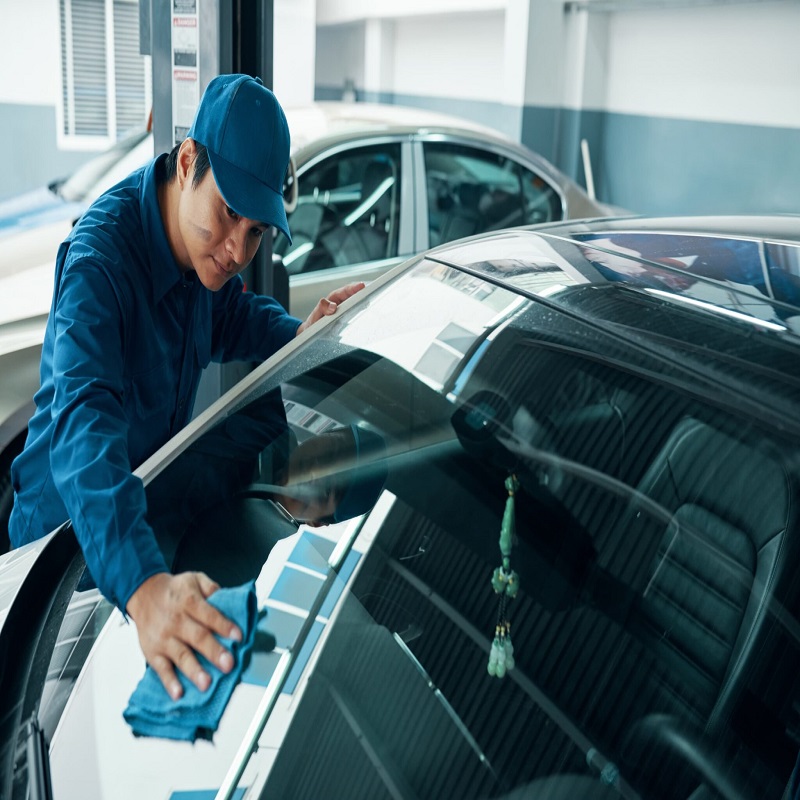
When to Seek Professional Headlight Cleaning
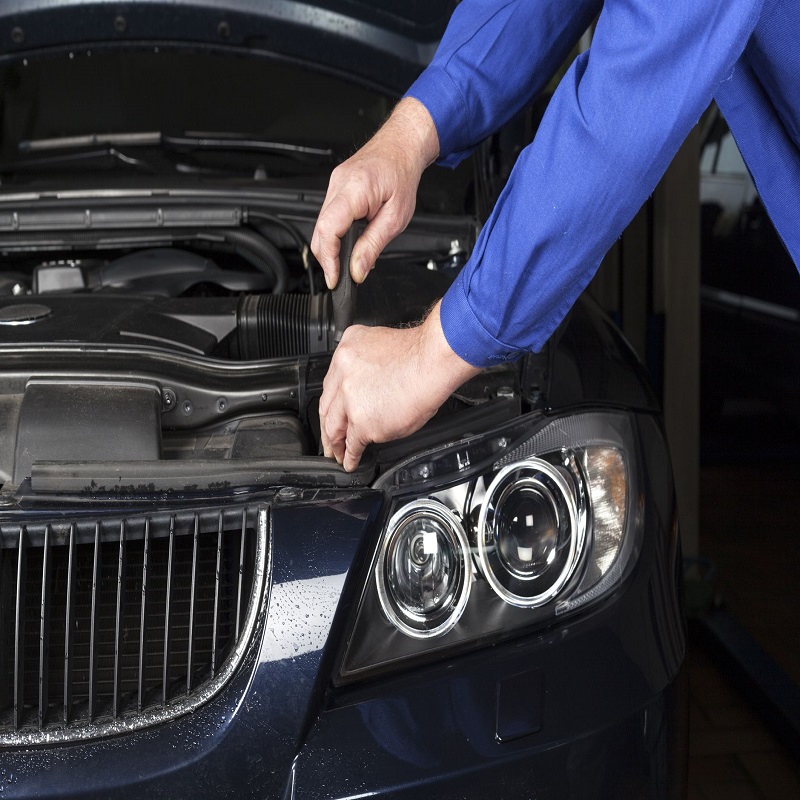
Sometimes DIY solutions may not achieve the desired clarity, or the headlight damage is beyond what simple hacks can fix. In such scenarios, seeking professional headlight cleaning hacks is a wise decision. Here are clear signs that indicate it’s time to call in the experts:
- Deep Scratches: If your headlights have deep scratches, professionals can often repair them more effectively.
- Severe Oxidation: When the cloudiness is intense, and DIY methods have not worked, professional tools and techniques can offer a better solution.
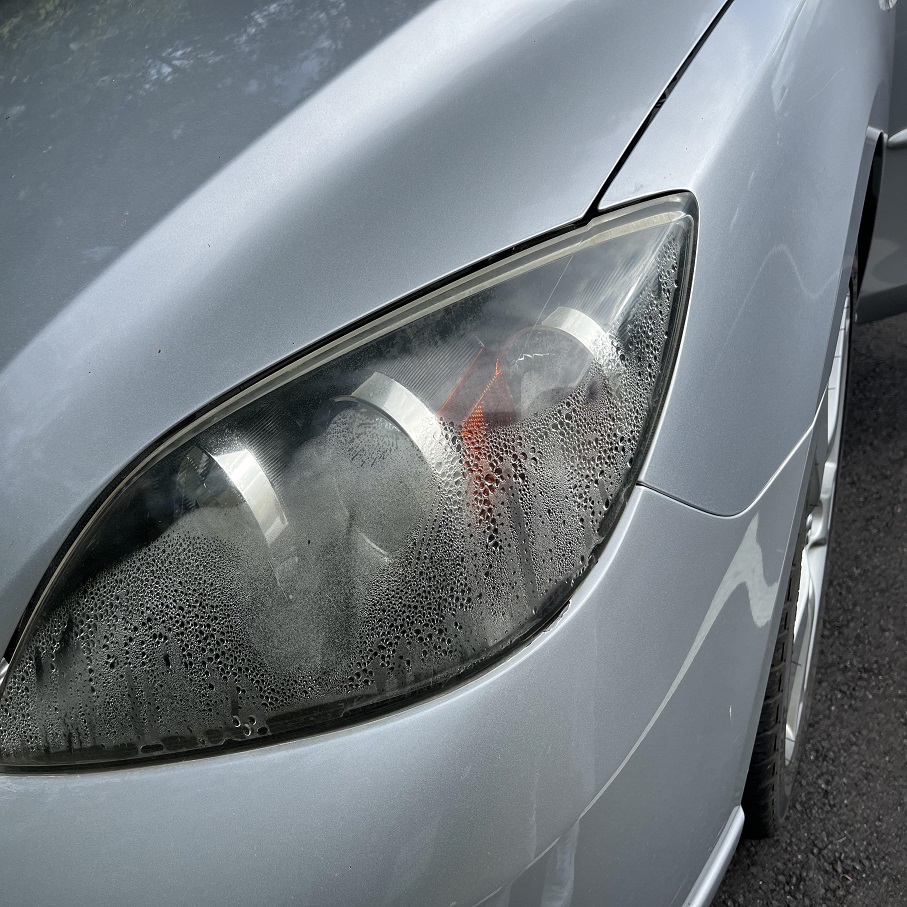
- Internal Damage: If the inside of your headlights is foggy or has moisture, a professional service will be required to take them apart and fix the issue properly.
- Safety Concerns: If you’re unsure about using DIY methods or products safely, it’s best to leave the task to trained technicians to prevent further damage.
- Time Constraints: If you do not have the time to thoroughly clean or restore your headlights, professionals can do it quickly and efficiently.
- Long-term Results: Professional cleaners can also apply UV protective coatings that last longer and protect better than typical DIY options.
Conclusion: The Importance of Regular Headlight Cleaning
Regular headlight cleaning hacks is vital for safe driving. Headlights lead the way when night falls and visibility drops. Clean headlights mean better road sight and safer night drives. Familiar headlight cleaning hacks are easy to use and often need just household items. It’s important to understand why regular cleaning is a must. Oxidation, debris, and UV damage can all dim your headlights. Regular DIY care keeps them shining like new.
Related Posts
Fixing Headlight Condensation Issues Effectively

RGB Light – Make Your Car Unique and Shiny