How to install headlights?
How to install headlights? Installing headlights is a crucial aspect of vehicle maintenance and customization, allowing drivers to enhance visibility, safety, and aesthetics on the road. Whether replacing old or damaged headlights or upgrading to newer, more advanced models, understanding the installation process is essential for every car owner. This comprehensive guide provides step-by-step instructions and tips for installing headlights, ensuring a successful and hassle-free experience.
1. Preparing for Installation:
Before beginning the installation process, it’s important to gather all the necessary tools and materials. These may include:
- Replacement headlights (halogen, LED, HID, etc.)
- Screwdriver set (Phillips and flathead)
- Socket wrench set
- Electrical tape
- Safety gloves and goggles
Additionally, it’s advisable to consult the vehicle’s owner’s manual for specific instructions and precautions.
2. Removing Old Headlights:
The first step in installing new car headlights is to remove the existing ones. This typically involves the following steps:
- Open the hood of the vehicle and locate the headlight assembly.
- Depending on the vehicle model, there may be screws, bolts, or clips securing the headlight assembly in place. Use the appropriate tools to remove these fasteners carefully.
- Once the fasteners are removed, gently pull the headlight assembly forward to access the wiring connections at the back.
- Disconnect the wiring harness from the back of the headlight bulb by pressing the release tab and pulling the connector apart.
- With the wiring disconnected, carefully remove the old headlight assembly from the vehicle.

3. Installing New Headlights:
With the old headlights removed, it’s time to install the new ones. Follow these steps for a successful installation:
- Before installing the new headlights, inspect them for any damage and ensure they are compatible with the vehicle.
- If the new headlights come with bulbs pre-installed, skip to the next step. Otherwise, carefully remove the old bulbs from the old headlight assembly and insert them into the corresponding sockets on the new headlights.
- Position the new headlight assembly in place, making sure it aligns properly with the mounting points on the vehicle.
- Reconnect the wiring harness to the back of the new headlight bulb, ensuring a secure connection.
- Once the wiring is connected, carefully push the brightest car headlights assembly back into position, making sure it sits flush against the vehicle’s body.
- Use the screws, bolts, or clips removed earlier to secure the new headlight assembly in place. Tighten them securely but avoid over-tightening, as this may damage the assembly or mounting points.
- Double-check the alignment of the new headlights to ensure they are properly positioned and aimed.
4. Testing and Adjusting:
After installing the new headlights, it’s essential to test them to ensure they are functioning correctly. Follow these steps:
- Turn on the vehicle’s ignition and activate the headlights.
- Check that both the low and high beam settings are working properly.
- Verify that the beam pattern is correct and that the headlights are aimed correctly.
- If necessary, adjust the aim of the led car headlights using the adjustment screws or knobs located near the headlight assembly. Refer to the vehicle’s owner’s manual for specific instructions on headlight aiming.
5. Final Checks and Safety Precautions:
Once the new headlights are installed and tested, perform the following final checks:
- Inspect the headlight assembly for any loose connections or components.
- Ensure that all fasteners are securely tightened and that the headlights are properly aligned.
- Clean the lenses of the headlights with a soft cloth and automotive cleaner to remove any dirt or debris.
- Dispose of old headlights and packaging materials properly, following local regulations.

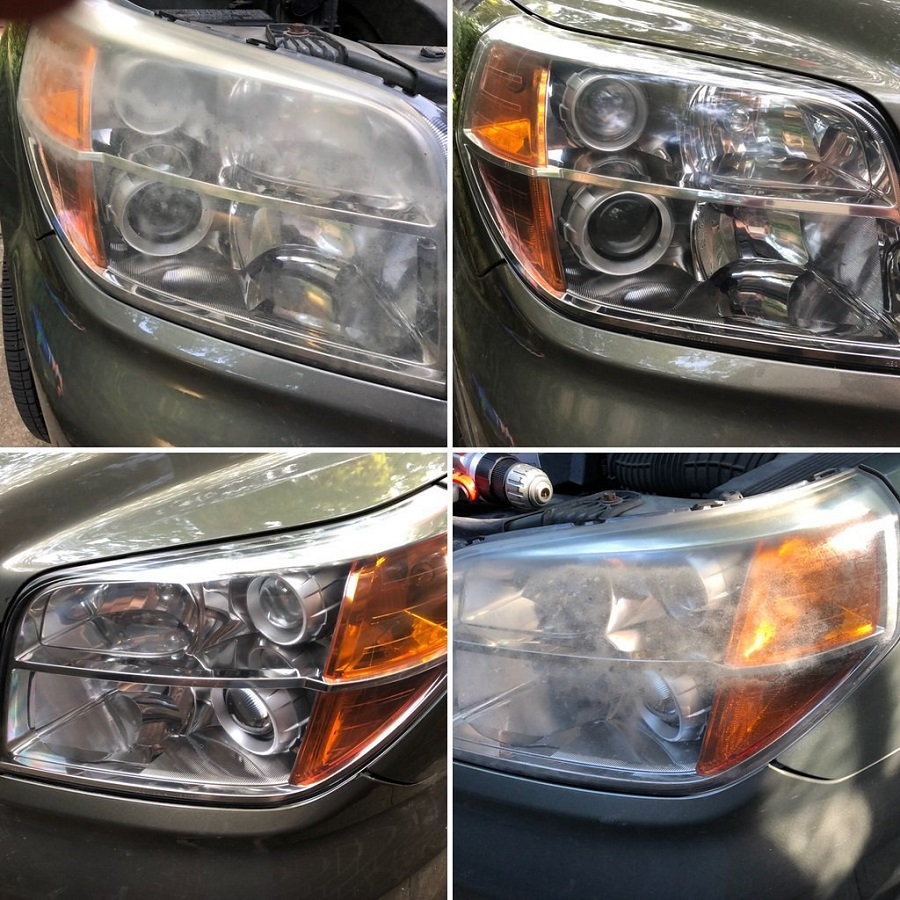
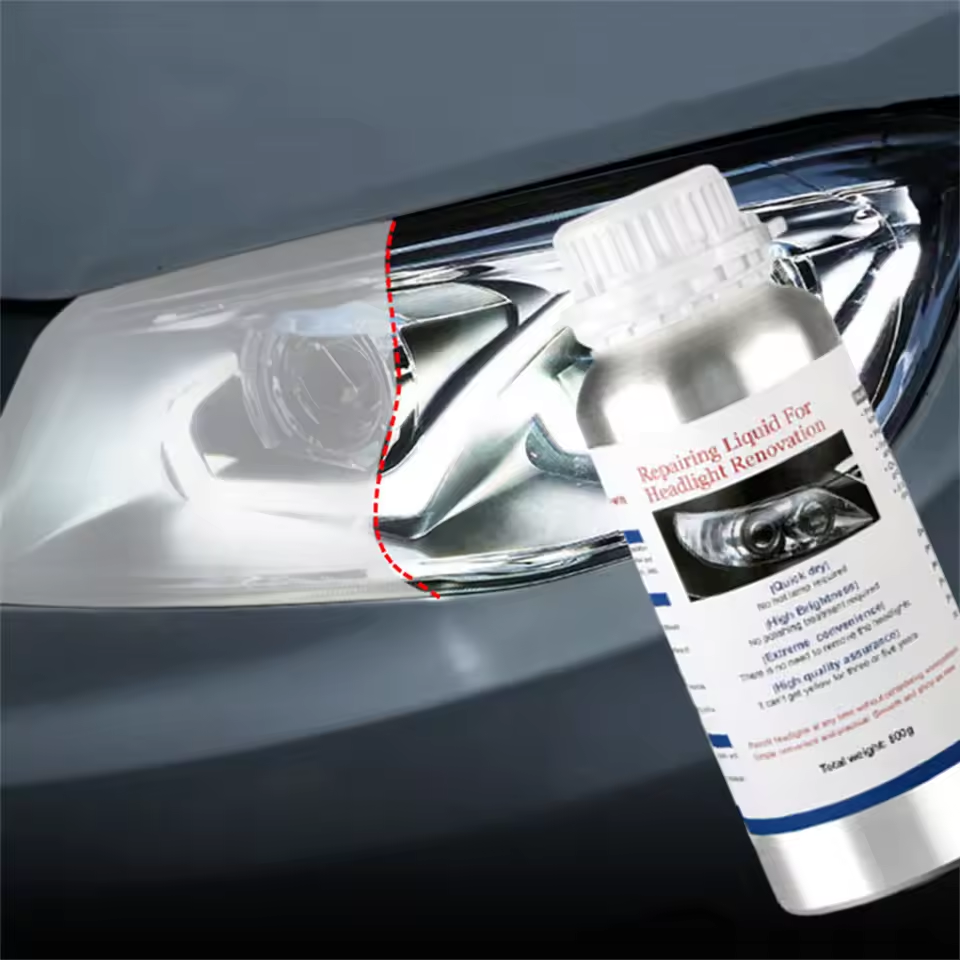
How to clean car headlights
Car headlights play a crucial role in ensuring safe driving, especially during low light conditions and adverse weather. Over time, exposure to various elements such as dust, dirt, debris, and UV rays can cause headlights to become cloudy, reducing their effectiveness and brightness. Proper cleaning and maintenance are essential to restore clarity and maximize visibility on the road.
1. Understanding Headlight Haze:
Before delving into cleaning methods, it’s essential to understand why headlights become cloudy. Headlight haze typically occurs due to:
- Oxidation: Exposure to UV rays and environmental pollutants causes the outer layer of plastic headlight lenses to oxidize, leading to a hazy or yellowish appearance.
- Dirt and Grime: Accumulation of dirt, dust, and debris on the surface of the headlights further exacerbates haze, reducing light output and clarity.
- Moisture Buildup: Condensation or moisture trapped inside the headlight assembly can contribute to fogging and hazing of the lenses.
2. Choosing the Right Cleaning Products:
Before cleaning your car headlights, gather the necessary supplies:
- Mild soap or car wash detergent
- Water
- Microfiber towels or soft cloth
- Headlight restoration kit (optional, for severely hazy headlights)
- UV sealant or protective coating (optional, for long-term clarity)
Ensure that the products used are safe for use on plastic surfaces and specifically formulated for automotive applications.
3. Step-by-Step Cleaning Process:
Follow these steps to effectively clean your car headlights:
Step 1: Prepare the Headlights
- Park the vehicle in a shaded area and ensure the headlights are cool to the touch.
- Remove any surface dirt or debris using a soft brush or microfiber cloth.
- Tape off the surrounding areas of the headlights to protect the paintwork from cleaning products.
Step 2: Wash the Headlights
- Mix a small amount of mild soap or car wash detergent with water in a bucket.
- Dip a clean microfiber towel or sponge into the soapy water and gently scrub the headlight lenses in circular motions.
- Rinse thoroughly with clean water to remove any soap residue.
Step 3: Apply Headlight Cleaner (Optional)
- If the headlights are still hazy after washing, consider using a headlight restoration kit.
- Follow the instructions provided with the kit to apply the cleaning solution or polish to the headlights.
- Use a clean cloth to buff the lenses in small, circular motions until the haze is removed.
Step 4: Rinse and Dry
- After using the headlight cleaner, rinse the headlights thoroughly with clean water.
- Use a dry microfiber towel to gently dry the lenses and remove any remaining moisture.
Step 5: Apply UV Sealant (Optional)
- For long-lasting clarity and protection, consider applying a UV sealant or protective coating to the headlights.
- Follow the manufacturer’s instructions to apply the sealant evenly to the lenses.
- Allow the sealant to cure according to the specified time before exposing the headlights to moisture or extreme temperatures.
4. Additional Tips for Headlight Maintenance:
- Regularly clean your headlights as part of your car washing routine to prevent buildup of dirt and grime.
- Avoid using abrasive or harsh cleaning products, as they can scratch the surface of the headlights.
- Consider installing protective film or covers to shield the headlights from UV rays and environmental damage.
- Inspect the headlights periodically for signs of damage or moisture buildup and address any issues promptly.
Conclusion:
Installing new headlights is a straightforward process that can significantly improve visibility, safety, and aesthetics on the road. By following the step-by-step instructions outlined in this guide and taking appropriate safety precautions, car owners can successfully replace old or damaged headlights with newer, more advanced models.
Related Posts
Fixing Headlight Condensation Issues Effectively
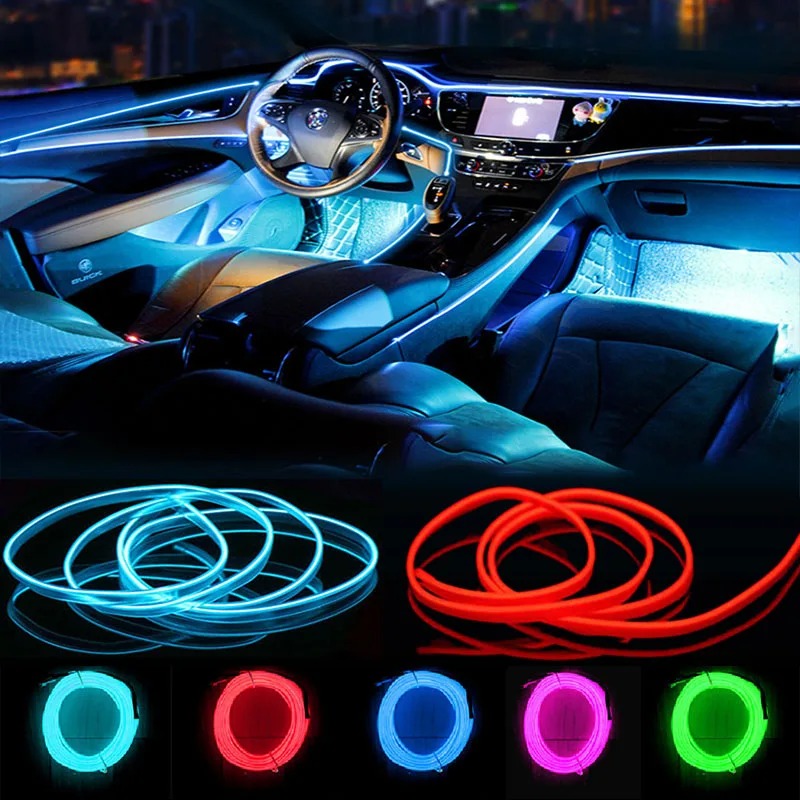
RGB Light – Make Your Car Unique and Shiny