How to remove headlight cover to clean?

How to remove headlight cover to clean? Over time, headlight covers can become dirty and foggy, which can significantly reduce the effectiveness of your headlights. Cleaning the headlight covers is a relatively simple task that can greatly improve visibility and the overall appearance of your car. Removing the headlight cover allows for thorough cleaning and ensures a clear and bright headlights. In this article, we will provide a step-by-step guide on how to remove a headlight cover to clean, including necessary tools, precautions, and methods for cleaning the covers. Let’s dive into the world of headlight maintenance and learn how to achieve crystal-clear headlight covers.
Tools Needed:
Before you begin, gather the following tools:
- Screwdriver (specific type may vary depending on vehicle model)
- Clean microfiber cloth or towel
- Automotive soap or glass cleaner
- Water
- Plastic polish (optional)
- UV sealant (optional)
- Soft brush or toothbrush (optional)
- Protective gloves and eyewear (optional)
Step-by-Step Guide:
Safety Precautions:
Before starting the cleaning process, ensure that your vehicle is turned off and the headlights are cool to the touch. Additionally, consider wearing protective gloves and eyewear to avoid any potential irritants or injuries.
Identify the Headlight Cover Attachment:
Headlight covers are generally attached in different ways depending on the make and model of your vehicle. Common attachment methods include screws, clips, or a combination of both. Identify the specific attachment method for your car headlights covers.
Loosen and Remove Screws or Clips:
Using the appropriate screwdriver, carefully loosen and remove any screws or clips securing the headlight cover in place. Keep track of removed screws or clips to avoid misplacing them.
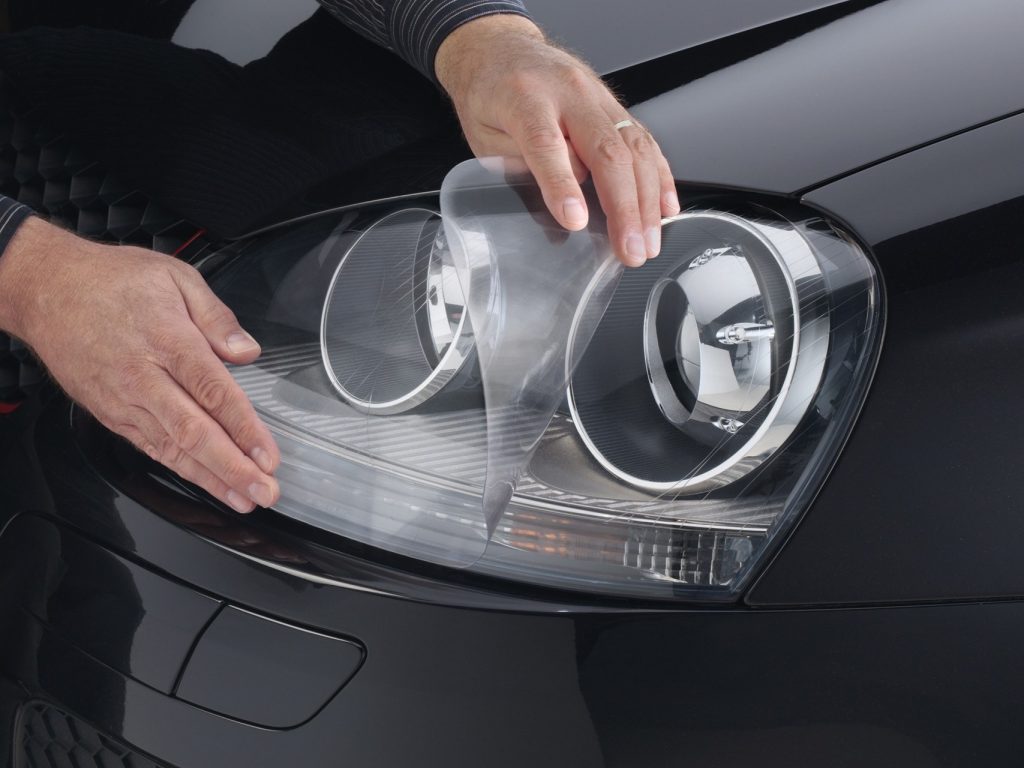
Gently Pry the Headlight Cover:
After removing the screws or clips, locate the edges of the headlight cover. Use your fingertips or a plastic prying tool to gently pry the cover away from the headlight assembly. Exercise caution to avoid using excessive force and potentially damaging the cover.
Remove the Headlight Cover:
Once the headlight cover is loosened, continue prying along the edges until the cover is fully disconnected from the headlight assembly. Set the cover aside in a clean and safe area.
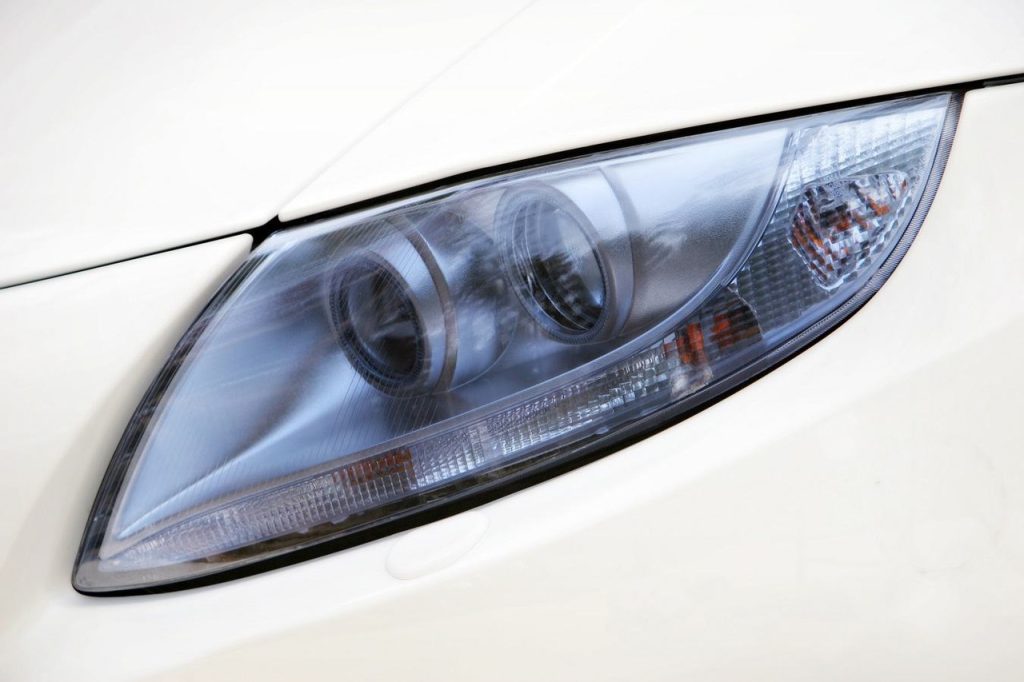
Clean the Headlight Cover Exterior:
Using a clean microfiber cloth or towel, apply automotive soap or glass cleaner and water to clean the exterior surface of the headlight cover. Gently scrub in circular motions to remove any dirt, grime, or oxidation.
Deep Cleaning Headlight Covers:
For more stubborn stains or damage, additional cleaning methods can be employed:
- Plastic Polish: Apply a small amount of plastic polish to the microfiber cloth or towel. Gently buff the headlight cover in circular motions to remove scratches, haze, or cloudiness. Follow the polish manufacturer’s instructions for best results.
- UV Sealant: After cleaning and polishing, consider applying a UV sealant specifically designed for headlights. This product helps protect against future discoloration and UV damage, extending the clarity and lifespan of the car headlights at night.
Clean the Headlight Assembly:
While the headlight cover is removed, take the opportunity to clean the headlight assembly as well. Use a soft brush or toothbrush dipped in soapy water to remove any dirt or debris from the assembly. Rinse with clean water and dry with a clean, dry cloth.
Reinstall the Headlight Cover:
Once the headlight cover and assembly are thoroughly cleaned and dried, carefully align the cover with the headlight assembly. Apply slight pressure and gently push the cover into place, making sure it snaps or locks securely.
Secure the Headlight Cover:
Using the appropriate screws or clips, reattach and tighten them to secure the headlight cover in place. Double-check that all screws or clips are properly in position and tight, ensuring a snug fit.
Notes on headlight cover to clean
Cleaning a headlight cover is an important part of vehicle maintenance that helps ensure clear visibility and maintain the overall appearance of your car. However, it is essential to exercise caution and follow some precautions to avoid any damage or mishaps during the cleaning process.
Safety Precautions:
Before starting the cleaning process, there are several safety precautions to consider:
- Turn off the Vehicle: Make sure the vehicle’s engine is turned off before working on the headlight covers. This minimizes the risk of any electrical components getting damaged or causing harm.
-
Allow Headlights to Cool: Headlights can become hot after prolonged use. Allow them to cool down before starting the cleaning process to avoid burns or injuries.
- Wear Protective Gear: Though not mandatory, consider wearing protective gloves and eyewear to protect your hands and eyes from any cleaning agents or debris that may be dislodged during the cleaning process.
Check Vehicle Manual:
It is advisable to consult your vehicle’s manual to understand the specific cleaning instructions and any manufacturer recommendations. Different vehicles may have different materials or coatings on the headlight covers, and following the manufacturer’s guidelines helps prevent any potential damage.
Avoid Abrasive Materials:
When cleaning types of headlights, avoid using abrasive materials such as rough cloths, scouring pads, or brushes with stiff bristles. These materials can cause scratches or damage to the surface of the covers.
Use Suitable Cleaning Agents:
Choose cleaning agents that are safe and suitable for the specific material of your headlight covers. Automotive soap or glass cleaners are generally effective at removing stains, dirt, and grime. Always read the manufacturer’s instructions for any cleaning agents to ensure safe and proper use.
Test Cleaning Agents:
Before applying any cleaning agent to the entire headlight cover, perform a patch test on a small, inconspicuous area. This test helps ensure that the cleaning agent does not cause any adverse reactions or damage to the cover material.
Avoid Harsh Chemicals:
Do not use chemicals such as ammonia, bleach, or solvents on headlight covers, as these substances can cause discoloration, cloudiness, or damage to the covers.
Use Proper Cleaning Techniques:
When cleaning the headlight covers, use gentle and circular motions with a clean, soft cloth or microfiber towel. This helps avoid any potential scratching or marring of the surface.

Conclusion:
Removing and cleaning headlight covers is a straightforward process that can greatly enhance visibility and improve the overall appearance of your vehicle. By following these step-by-step instructions and taking the necessary precautions, you can achieve crystal-clear headlight covers. Regular cleaning and maintenance of headlight covers not only enhance safety but also contribute to the longevity and functionality of your headlights. So, gather your tools, exercise caution, and give your headlight covers the attention they deserve, allowing for clearer and brighter headlights in your automotive journeys.
Related Posts

Fixing Headlight Condensation Issues Effectively

RGB Light – Make Your Car Unique and Shiny
