How to change a headlight bulb?

How to change a headlight bulb? Replacing a headlight bulb is a simple yet essential task for any vehicle owner. A malfunctioning or burnt-out headlight bulb can compromise road visibility and safety. Knowing how to change a headlight bulb can save you time and money, as you won’t need to visit a mechanic for a basic maintenance task. In this comprehensive guide, we will walk you through the step-by-step process of changing a headlight bulb, including preparing the vehicle, accessing the headlight assembly, removing the old bulb, inserting the new bulb, and testing the headlights.
Tools and Materials You’ll Need:
Before starting the headlight bulb replacement, gather the following tools and materials:
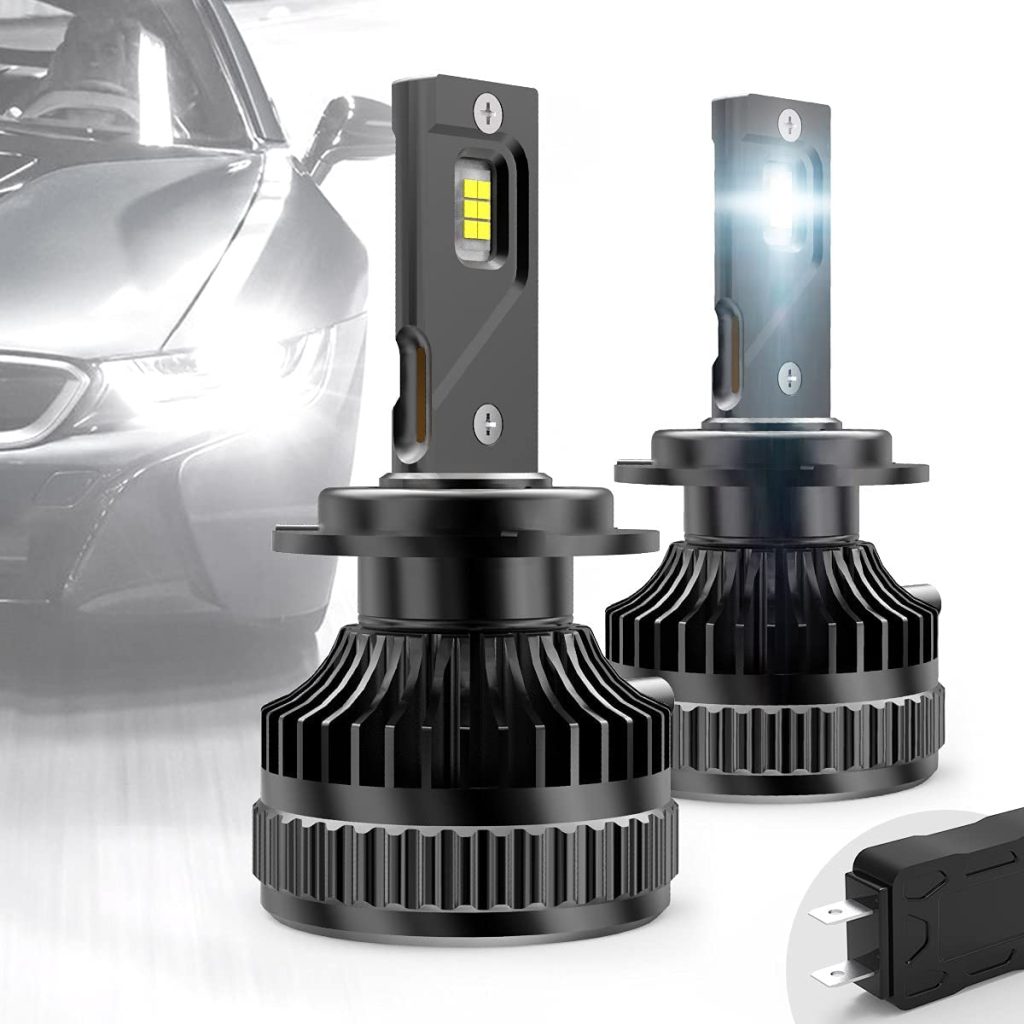
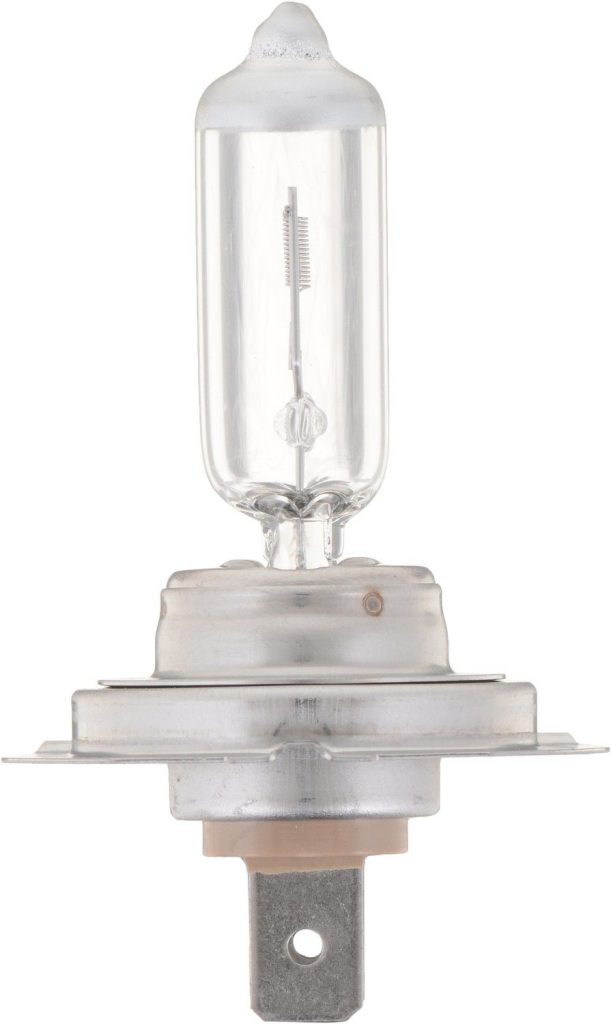
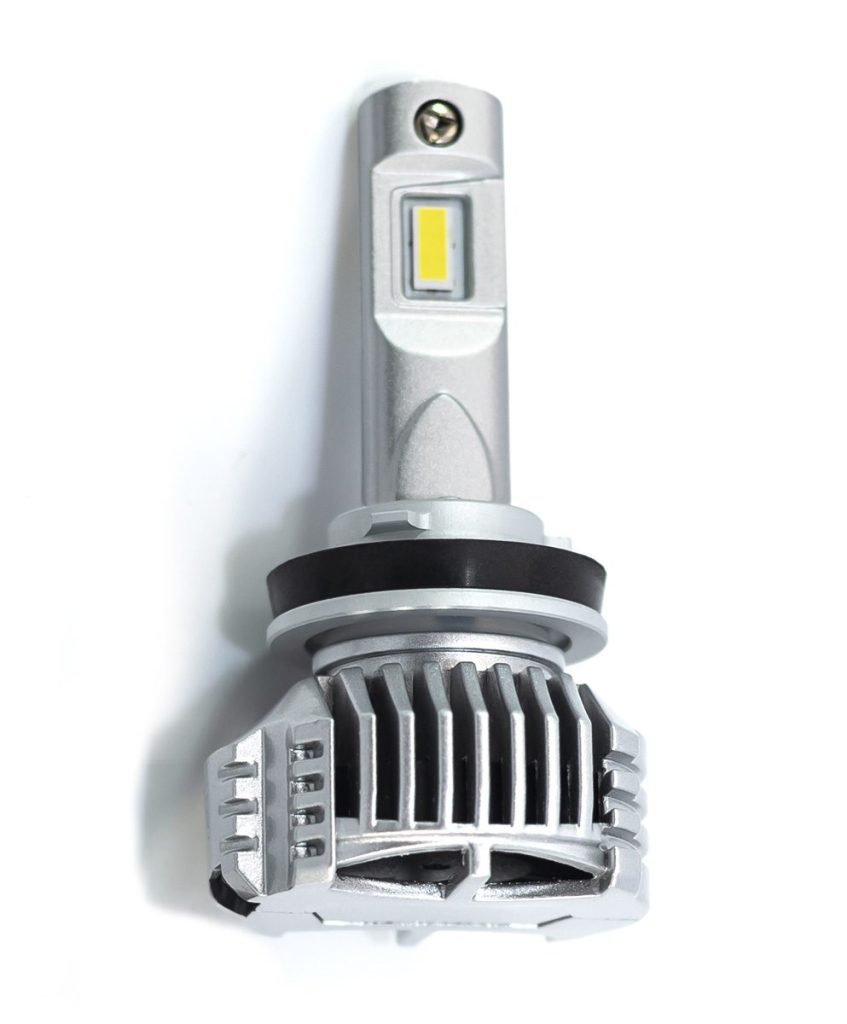
- New headlight bulb(s): Ensure you purchase a bulb that is compatible with your vehicle’s make and model. Refer to your vehicle’s manual or consult an automotive specialist for the correct bulb specifications.
- Pliers or gloves: These can help with grip and protect the bulb from oils or dirt on your hands.
Prepare the Vehicle:
Turn off the engine and engage the parking brake to prevent any accidental movement of the vehicle. Allow the engine and headlights to cool down before proceeding.
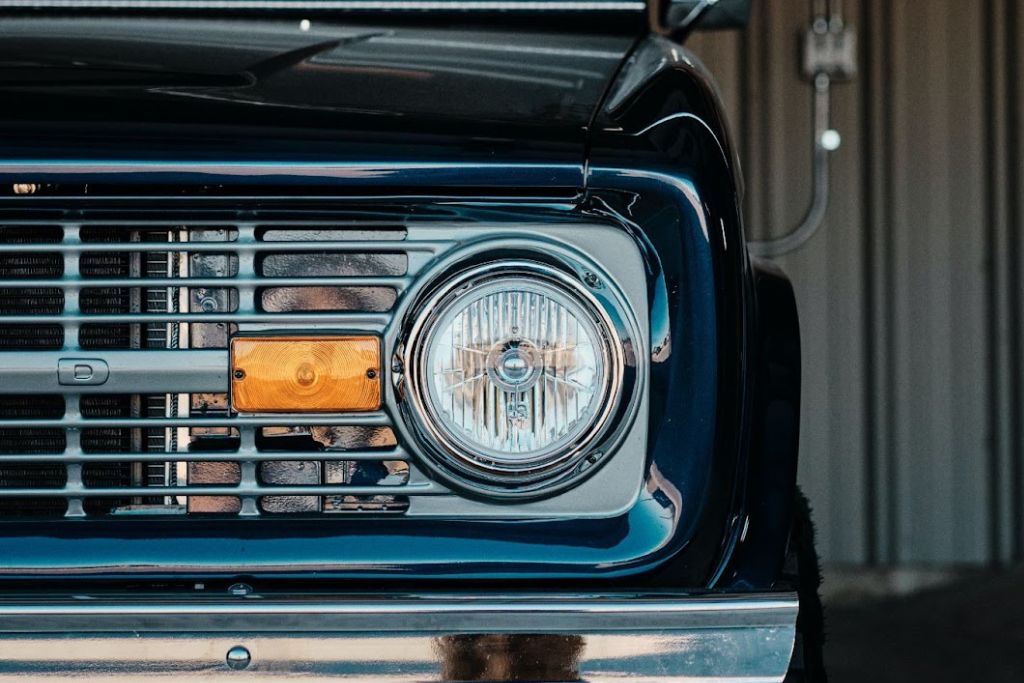
Access the Headlight Assembly:
Locate the headlight assembly at the front of your vehicle. Identify which bulb needs to be replaced. You may need to access the bulb from the engine compartment or behind the headlights on a car assembly.
Consult your vehicle’s manual to determine the specific method required for accessing the headlight bulb. This may involve removing the headlight cover or accessing the bulb from behind the assembly.
Remove the Old Bulb:
Disconnect the electrical connector: Gently pull off the plastic connector or wire harness connected to the rear of the bulb. Be careful not to damage the connector.
Remove the bulb retainer: Depending on the vehicle, there may be a retaining clip or metal retainer holding the bulb in place. Release the clip or twist the retainer counterclockwise to remove it and dislodge the bulb.
Carefully remove the old bulb: Grasp the base of the bulb with pliers or gloves and gently pull it straight out, being mindful not to touch the glass part of the new bulb. If the bulb appears stuck, try wiggling it gently to loosen it before pulling it out completely.
Insert the New Bulb:
Prepare the new bulb: If necessary, transfer any wiring or connectors from the old bulb to the new one. Avoid touching the glass part of the new bulb as oils from your skin can shorten the bulb’s lifespan.
Align the new bulb: Insert the new bulb into the headlight assembly, ensuring it fits properly and aligns with the bulb socket.
Secure the bulb: If there is a retaining clip or metal retainer, reattach it and rotate it clockwise to secure the new bulb in place. Ensure it is firmly in position.
Reconnect the electrical connector: Attach the plastic connector or wire harness to the rear of the new bulb, ensuring a secure fit.
Test the Headlights:
Turn on the headlights: Re-enter the vehicle and turn on the led headlights to verify the new bulb is functioning correctly. Activate both the high beams and low beams, as applicable, to ensure proper functionality.
Check for alignment and brightness: Step outside the vehicle and confirm that the new bulb is aligned properly and shining at the desired brightness. Make any necessary adjustments if the beam pattern is off or the light is dimmer than expected.
Reassemble:
Put back any panels or covers you removed to access the headlight assembly. Ensure they are secured properly.
Repeat for the Other Bulb:
If you need to replace both headlight bulbs, repeat the steps above for the other side of the vehicle.
How to repair headlight bulb
A malfunctioning headlight bulb can be a common issue for vehicle owners. Dim or non-functional headlights can compromise visibility and pose a safety risk. While replacing a headlight bulb is often the best solution, there are some repairs you can attempt before resorting to a replacement.
Troubleshoot the Problem:
Identify the issue: Determine if the issue is with the headlight bulb itself, the wiring, the socket, or the switch. Check if both headlights are affected or only one.
Inspect the connections: Look for loose connections, damaged wires, or signs of corrosion in the bulb socket or wiring harness.
Test the bulb: If you suspect the bulb is the problem, try swapping it with a working bulb from the other headlight to see if the problem persists.
Clean the Headlight Components:
Clean the lens: If the headlight lens is foggy or hazy, clean it with a soft cloth and lens cleaner or isopropyl alcohol. If the discoloration persists, consider using sandpaper or a headlight lumens restoration kit as per the manufacturer’s instructions to improve clarity.
Clean the bulb: If the bulb appears dirty or soiled, carefully remove it and clean it with a soft cloth and isopropyl alcohol. Avoid touching the glass part of the bulb with your bare hands.
Clean the contacts: If there is corrosion or debris in the bulb socket or wiring harness, spray electrical contact cleaner onto a cloth or directly onto the contact points, and gently scrub away any dirt or corrosion.
Adjust the Headlight Alignment:
Park the vehicle on level ground facing a flat wall or garage door.
Measure and mark the center of the headlight lens with tape or a marker.
Back the vehicle up about 25 feet and turn on the headlights.
Observe the position of the light beam on the wall or garage door. Use a screwdriver or socket set to adjust the headlight alignment as needed, following the vehicle’s manual for specific adjustment instructions.
Evaluate Other Factors:
Check for blown fuses or faulty relays: If the headlight issue persists, check the fuse box and replace any blown fuses or faulty relays related to the headlights.
Inspect the wiring: Examine the wiring harness leading to the headlight bulb for any signs of damage or frayed wires. If necessary, repair or replace the wiring or harness with the appropriate components.
In conclusion
Changing a headlight bulb is a straightforward process that can be easily done on your own. By following this step-by-step guide, you can safely and effectively replace a headlight bulb in your vehicle. Remember to prepare the vehicle, access the headlight assembly, remove the old bulb, insert the new bulb, and test the headlights. By performing this regular maintenance task, you can ensure proper visibility and safety while driving at night or in low-light conditions without the need for professional assistance.

Related Posts

Fixing Headlight Condensation Issues Effectively

RGB Light – Make Your Car Unique and Shiny
