How to replace headlight assembly?

How to replace headlight assembly? The headlight assembly is an essential component of your vehicle’s lighting system, providing visibility and safety on the road. Over time, headlight assemblies may become damaged, cracked, or dim, requiring replacement for optimal performance. Understanding how to replace a headlight assembly can save you time and money by enabling you to do it yourself. In this comprehensive guide, we will walk you through the step-by-step process of replacing a headlight assembly. From gathering the necessary tools to installing the new assembly, this guide will equip you with the knowledge to confidently replace your headlight assembly and restore proper illumination to your vehicle. Let’s dive into the world of headlight assembly replacement.
Gather the Necessary Tools and Materials:
Before starting the replacement process, gather all the tools and materials you will need. These typically include:
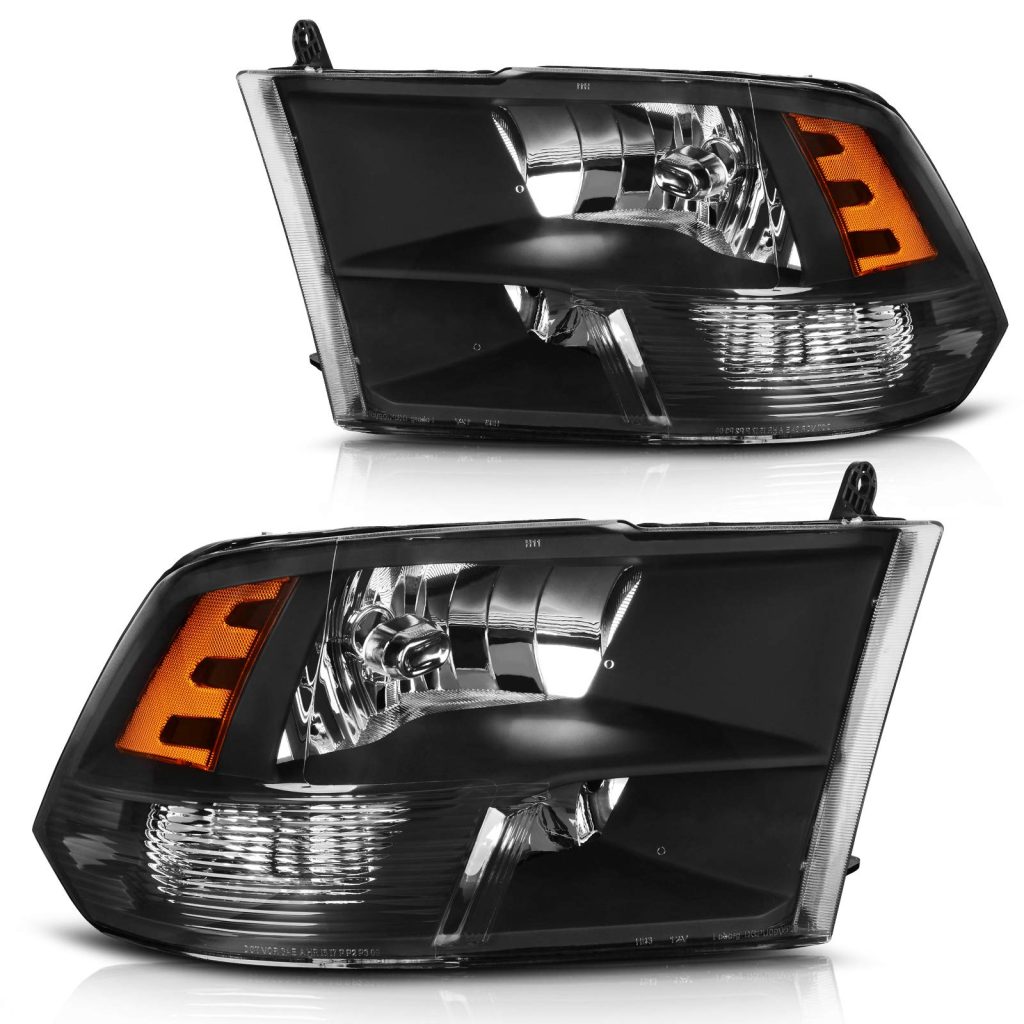
- New headlight assembly: Purchase a compatible headlight assembly for your vehicle make and model. Ensure it matches the correct side (driver or passenger).
- Rubber gloves: Wear gloves to protect your hands from dirt, chemicals, or sharp edges.
- Screwdrivers and wrenches: Depending on your vehicle model, you may need a Phillips screwdriver, a flathead screwdriver, and/or a wrench to remove the old headlight assembly.
- Socket wrench and sockets: A socket wrench and the appropriate socket sizes will be necessary for removing fasteners securing the headlight assembly.
Accessing the Headlight Assembly:
To begin the replacement process, you need to access the headlight relay assembly. The following steps outline the general process, but note that the specific steps may vary depending on your vehicle make and model:
- Open the hood: Locate and release the hood latch inside the vehicle. Raise the hood and secure it properly.
- Remove any necessary components: In some cases, you may need to remove other components such as the battery, air filter housing, or fender liner to access the headlight assembly. Refer to your vehicle’s owner manual or consult an online resource for specific instructions.

Removing the Old Headlight Assembly:
Once you have accessed the headlight assembly, follow these steps to remove the old assembly:
- Disconnect the electrical connector: Locate the electrical connector at the back of the headlight assembly. Gently press the tab or release mechanism and disconnect the connector.
- Remove the retaining fasteners: Identify the fasteners securing the headlight assembly. These can be screws, bolts, or clips. Use the appropriate tool, such as a screwdriver or a socket wrench, to remove them. Keep the fasteners in a safe place for reinstallation.
- Detach the headlight assembly: Once the fasteners are removed, gently pull the headlight assembly away from the vehicle. Take care not to force or damage any wiring or other components.
Installing the New Headlight Assembly:
With the old headlight assembly removed, it’s time to install the new one. Follow these steps:
- Position the new headlight assembly: Carefully align the new headlight assembly and make sure it fits properly into the designated slots or mounts. Do not force it into place. Ensure any alignment pins or tabs are correctly positioned.
- Reattach the retaining fasteners: Insert and tighten the retaining fasteners, securing the new headlight assembly in place. Use the appropriate tool, such as a screwdriver or socket wrench. Refer to any specific torque specifications provided by the manufacturer.
- Reconnect the electrical connector: Attach the electrical connector to the new headlight assembly. Ensure it is securely connected and properly seated.
Cleaning and Final Checks:
Complete the headlight assembly replacement process by performing the following steps:
- Clean the new headlight assembly: Use a soft cloth or microfiber towel and a mild cleaner to gently clean the new headlight assembly. Remove any fingerprints, dirt, or residue.
- Perform a final check: Before driving, double-check that the new led headlights assembly is securely installed and properly aligned. Confirm that all electrical connections are intact and functional.
The importance of headlight assembly
Headlight assemblies are a crucial component of a vehicle’s lighting system, playing a vital role in ensuring safety and visibility on the road. Without properly functioning headlights, drivers and pedestrians are at greater risk of accidents and reduced visibility during low-light conditions.
Function of Headlight Assemblies:
The primary function of headlight assemblies is to provide visibility in dark or low-light conditions while increasing the visibility of a vehicle to others. They serve the following functions:
- Illumination: Headlight assemblies emit light beams that allow drivers to see the road ahead, obstacles, and potential hazards. They are essential for safe nighttime driving and adverse weather conditions such as fog, rain, or snow.
- Signal Indication: Headlight assemblies also serve as signal indicators, enabling drivers to communicate their intention to turn, change lanes, or stop to other road users. This ensures safer navigation and reduces the risk of accidents.
- Enhanced Visibility: In addition to illuminating the road ahead, headlight assemblies contribute to the visibility of the vehicle from a distance, especially when combined with other lighting components such as daytime running lights.
Components of Headlight Assemblies:
To understand the importance of types of headlights, it is essential to become familiar with their key components:
- Bulbs: The bulbs are the light sources within the headlight assembly. They come in various types, such as halogen, LED (Light Emitting Diode), or HID (High-Intensity Discharge), each offering different levels of brightness, longevity, and energy efficiency.
- Reflectors and Projectors: Reflectors and projectors are responsible for controlling the direction and spread of the light emitted from the bulbs. They help focus and distribute the light beam to ensure optimal visibility without blinding oncoming drivers.
Benefits of Maintaining and Upgrading Headlight Assemblies:
Regular maintenance and upgrading of headlight assemblies offer several benefits in terms of safety, visibility, and energy efficiency:
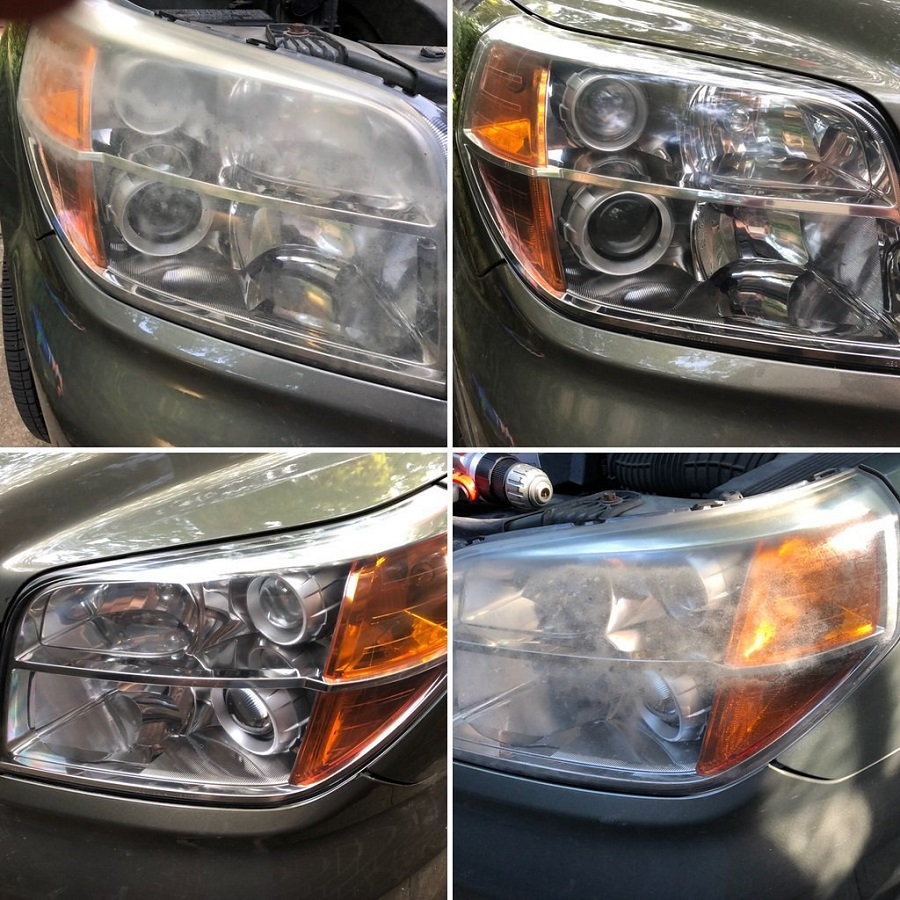
- Improved Visibility and Safety: Properly functioning headlights ensure better visibility, reducing the risk of collisions, especially during nighttime driving or in inclement weather conditions. Regular maintenance helps keep the lenses clean and clear, enhancing light output and reducing dimness or fogging.
- Enhanced Style and Aesthetics: Upgrading headlight assemblies allows vehicle owners to customize and enhance the appearance of their vehicles. LED or HID bulbs, for example, offer a modern and sleek look while providing improved illumination.
Conclusion:
Replacing a headlight assembly is a relatively straightforward process that can help restore the safety and visibility of your vehicle. By carefully following the steps outlined in this guide, you can confidently replace a damaged or malfunctioning headlight assembly. Remember to exercise caution, use the appropriate tools, and refer to your vehicle’s owner manual or consult online resources for specific instructions. With the right tools, materials, and knowledge, you can successfully replace a headlight assembly and ensure optimal performance and illumination for your vehicle.
Related Posts
Fixing Headlight Condensation Issues Effectively

RGB Light – Make Your Car Unique and Shiny